How to Remove Unwanted Objects from Images Online
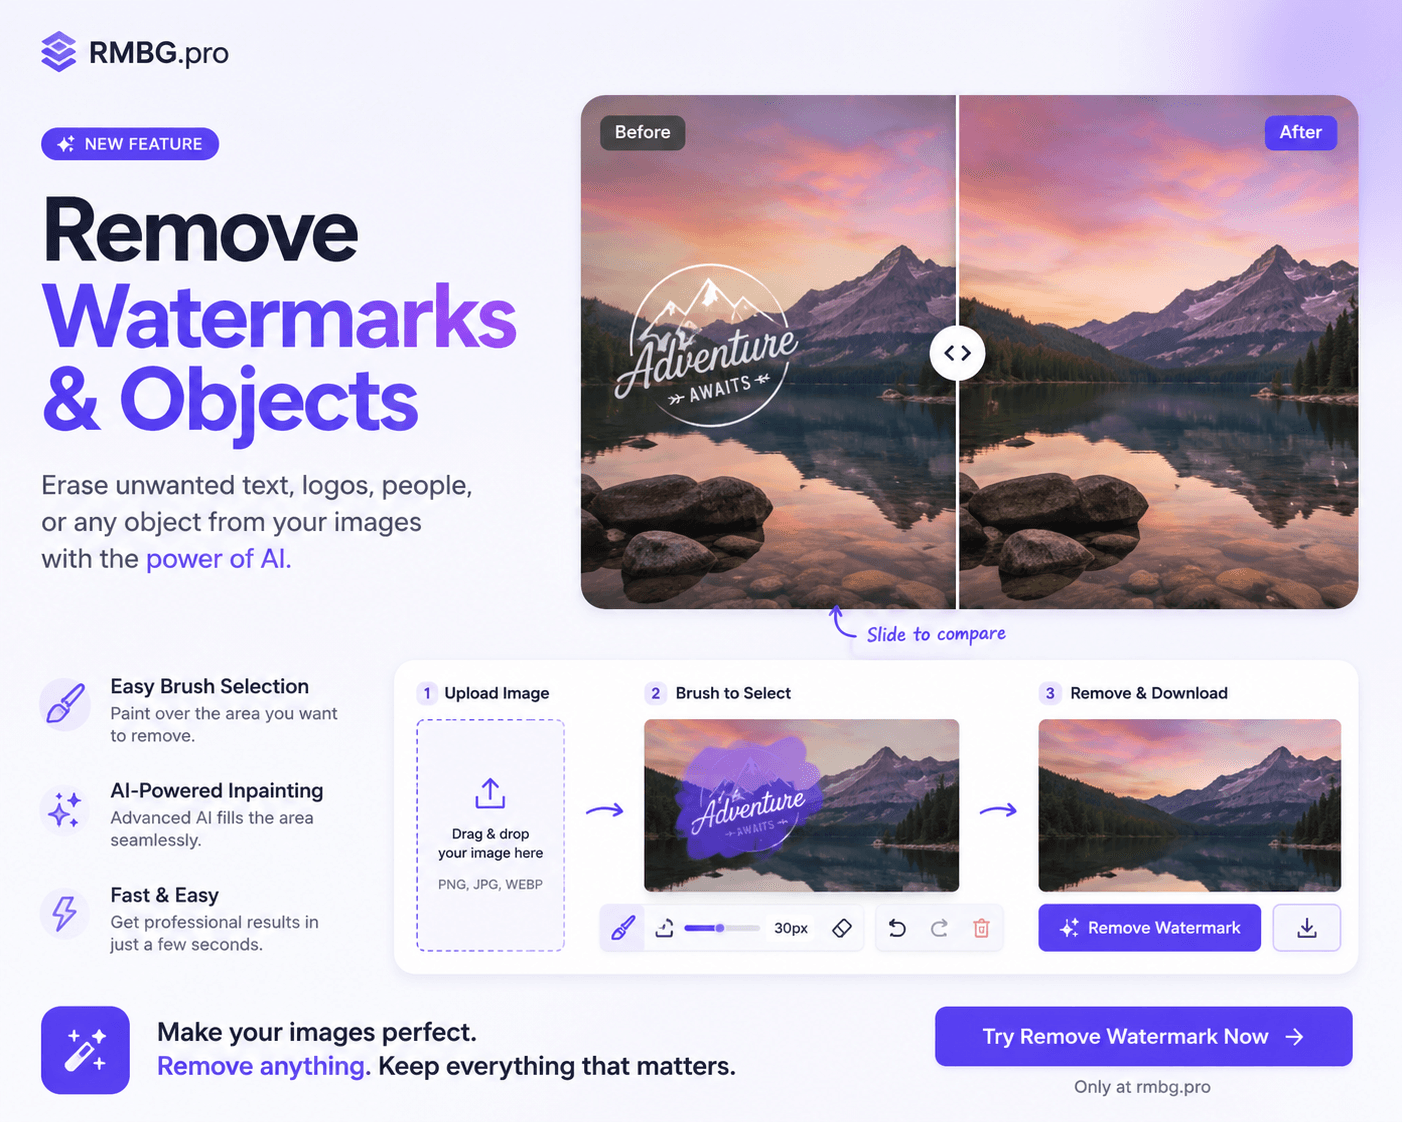
From a stranger photobombing your travel shot to a stray cable ruining a clean product layout — modern AI inpainting can remove unwanted objects from images in seconds without forcing you to learn Photoshop. Here is how it actually works, what it is good at, and how to get consistently clean results.
Introduction
Object removal is the photo-retouching step that takes a good picture and makes it feel clean, intentional, and professional. Historically you would open a desktop editor, sample the right neighboring texture with a clone stamp, and paint over the unwanted area pixel by pixel. That works, but a single complex object (a person crossing the frame, a street sign layered over a building, a sticker across a product box) can easily take 15–40 minutes of careful work.
Modern AI-powered image editing flips the economics: you tell the tool where the problem is, and an inpainting model reconstructs what the pixels should look like using the surrounding context as a guide. For straightforward tasks this turns minutes into seconds.
Important caveat upfront: results depend on the image. Quality, object size, background complexity, lighting direction, texture consistency, and the shape of the selected area all affect the outcome. Complex photos can still need additional polish; this guide explains both what AI handles well and what to do when it does not.
What Does It Mean to Remove an Object from an Image?
Removing an object from an image means identifying a region you do not want, deleting the pixels, and then filling the hole with content that matches the surrounding color, texture, lighting, and perspective so the viewer does not notice anything was ever erased.

Realistic object-removal tasks people do every week:
- Removing a person in the background from a personal, travel, or real-estate photo.
- Cleaning up product photos by erasing stray props, price stickers, packaging clutter, or accessories that do not belong in the final catalog image.
- Removing distracting elements from marketing imagery, ad creatives, and landing-page hero shots.
- Taking out signs, power lines, cables, blemishes, or decorations from real-estate photos and street photography.
- Editing out logos, text overlays, or watermarks from images you own or have permission to edit — never from copyrighted assets you do not control.
How AI Object Removal Works
The underlying technique is usually called inpainting — the name comes from a restoration technique used by art conservators. With a digital image, the workflow looks roughly like this:
- Upload an image. The editor loads PNG, JPG, JPEG, or WEBP files and displays them on a canvas.
- Identify the unwanted object. You locate the person, item, or overlay that should disappear.
- Select / brush over the object. Using a brush (or sometimes a rectangle or lasso), you paint a mask that marks the exact region to rebuild. Eraser tools let you narrow an over-sized selection.
- AI analyzes the surrounding area. The inpainting model looks at pixels near the selected zone to learn the color palette, edges, light direction, and texture patterns.
- AI reconstructs the selected region. The model generates plausible replacement content that should blend with the context.
- Preview the result. A good editor shows the original side-by-side (or via a compare slider) so you can spot artifacts immediately.
- Download the edited image. If you like it, export as a cleaned PNG (or another format) and move on.
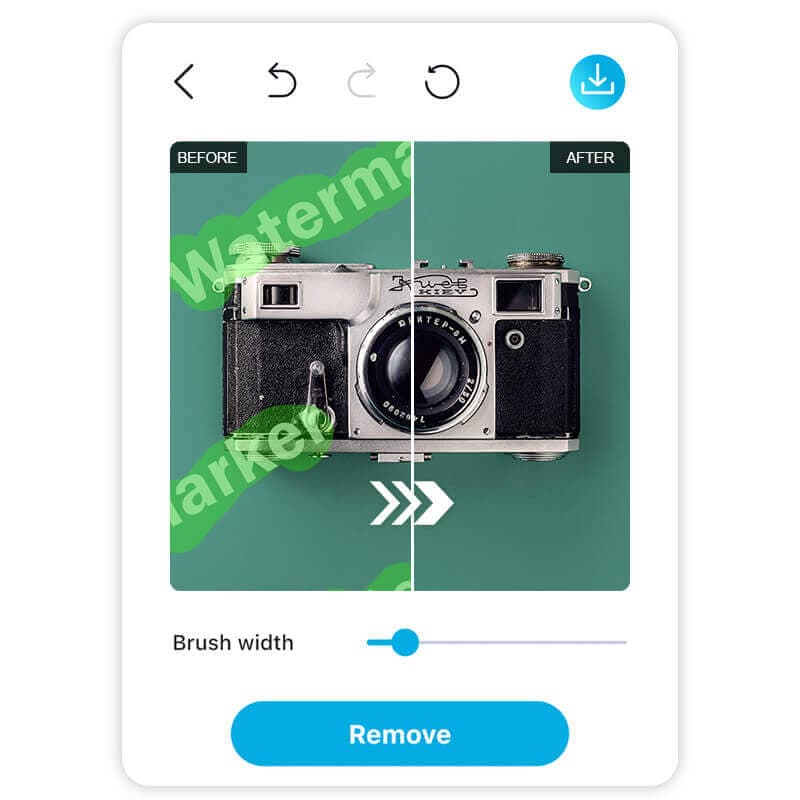
You do not need to know how a diffusion model works under the hood; for most users the only details that matter are the selection quality, the image resolution, and whether the editor gives you a way to compare before/after so you can decide whether another brush pass is needed.
How to Remove Unwanted Objects from an Image Online (Step by Step)
This section uses the real Remove Object tool in RMBG.PRO so the button names and workflow match what you actually see. The same client component also powers RMBG.PRO Remove Watermark since the underlying inpainting logic is identical.
- Open the RMBG.PRO object-removal tool. Visit /ai-tools/remove-object in your browser — no install required.
- Upload an image. Drag and drop a PNG, JPG, JPEG, or WEBP file into the uploader, or click Upload Image and browse. The editor reports the filename plus width × height so you know the source resolution.
- Use the Brush / Selection tool. The right-hand sidebar defaults to the Brush mode with a 30 px brush size (adjustable from 5 px to 100 px via the slider). Paint the white mask exactly over the object. Use Eraser mode if you accidentally cover an area that should stay.
- Paint over the unwanted object completely. White pixels on the mask mark the area AI will remove; black pixels stay untouched. Zoom in (buttons or mouse wheel) and switch to Pan mode with the Hand tool to inspect edges on large images.
- Adjust the selection if necessary. Use Undo to roll back a stroke, or Clear to wipe the whole mask. The Selection status panel tells you whether a mask is detected.
- Start the AI removal process. Click Remove Watermark/Object. The editor sends the source image and your mask to the RMBG.PRO inpainting endpoint and shows a "AI is removing the selected object..." spinner until processing finishes.
- Compare the original and edited image. After processing you get a Before / After compare slider. Drag the handle left and right to double-check edges, texture continuity, and shadows. Click Back to Editor if you want to paint an additional mask pass.
- Download the result. When you are happy, click Download PNG. The filename is derived from the original name with a
-cleaned.pngsuffix.
What Types of Objects Can You Remove?
Remove People from Photos
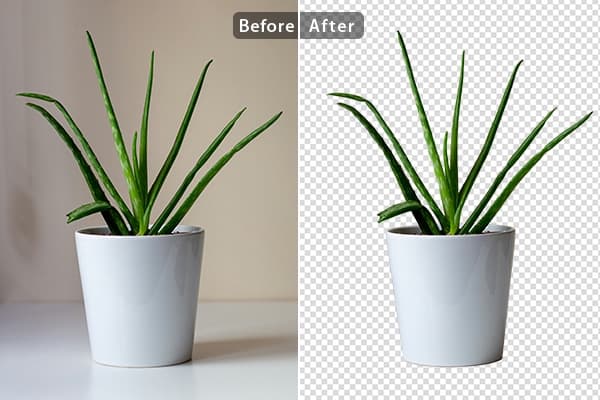
One of the most common uses is removing a person who accidentally wandered into the frame — a background pedestrian, a stranger at a tourist landmark, or a reflected figure in a window. Easier cases are figures against a relatively uniform surface (sky, pavement, plain walls). Harder cases are figures that overlap another subject, or stand in front of a complex repeating pattern.
Remove Objects from Product Photos
E-commerce teams frequently discover distracting props, tape, hangers, stickers, cables, or packaging debris in their catalog shots. Inpainting is ideal for these because studio backgrounds are usually controlled — a solid seamless paper, a gradient, or a wooden surface. Those contexts give AI a strong signal to work with, and the same editor pairs naturally with RMBG.PRO background removal in a single upload pipeline.
Remove Unwanted Background Elements
Typical targets include street signs, cables, wall sockets, small decorative items, shadows on a backdrop, stray leaves, or retail price tags. Small to medium objects against backgrounds with simple textures are the sweet spot.
Remove Text or Unwanted Visual Elements
Stamped dates, overlay text, logos, and watermarks are common inpainting targets. A quick reminder: only remove text, logos, or watermarks from images you own or have explicit permission to edit. Removing copyright notices from third-party assets you did not create can infringe intellectual property rights.
When removal is legitimate, a dedicated AI logo removal guide and a more specialized AI watermark brush technique article walk through mask strategy for those specific cases.
AI Object Removal vs Photoshop
Photoshop can still do things a web AI editor cannot. But for the single task of erasing an unwanted object, the trade-offs are usually straightforward:
| Dimension | AI Object Removal (online) | Photoshop / desktop editor |
|---|---|---|
| Ease of use | Upload, brush, click. Zero learning curve for the core task. | Requires learning clone stamp, generative fill, healing brushes, and layer discipline. |
| Learning curve | Very shallow. | Moderate to deep, depending on the image. |
| Speed | Seconds per pass for most web-sized images. | Minutes to hours for manual retouching on complex files. |
| Manual control | Mask-level control, plus undo, clear, and return-to-editor retries. | Pixel-level control, non-destructive layers, masks, blending modes, compositing. |
| Automation | Fully automatic fill once the mask is painted. | Actions and scripts for repetitive jobs, but set-up required. |
| Batch workflows | Pairs well with dedicated bulk editors like bulk product image editing pipelines. | Photoshop Batch, Droplets, and scripting for power users. |
| Professional editing scope | Excellent for one retouching task: object/watermark/text removal. | Full production-grade retouching, color grading, compositing, and creative design. |
In practice the two tools complement each other. A web AI editor handles 80% of the everyday cleanup tasks fast; desktop software handles the last 20% of cases that need artistic judgment, hand-tuning, or pixel-perfect final polish.
How to Get Better AI Object Removal Results

- Use a high-resolution source. The more pixels AI has to learn from, the more convincing the reconstructed texture.
- Select the complete object. Include every stray pixel and halo. If a tiny fringe stays, the result can look smudged along the edge.
- Include shadows when appropriate. If the object you are removing casts a soft shadow on the background, masking the object but forgetting the shadow leaves a dark blob that reveals something was deleted.
- Avoid selecting unnecessary areas. Bigger masks give the model more work. Shrink the mask to the smallest shape that still fully covers the target.
- Make precise selections. Zoom in, pick a smaller brush for edges, and use the eraser to clean up any over-paint. Selection quality almost always correlates with output quality.
- Process difficult objects in smaller areas.Instead of one giant mask over a 1000-pixel-wide region, try smaller passes — especially on complex patterns or gradients.
- Check edges after processing. Use the compare slider and inspect seams at 1:1 or closer. A second, tiny mask pass is often the difference between "okay" and "nobody notices".
- Compare the result with the original. Zoom levels, contrast, and surrounding content can all trick your eye; the compare slider forces you to actually see the difference.
Common Problems When Removing Objects
Visible artifacts
Streaks, blotches, warped typography, or warped geometry can appear when the selected area is too large or overlaps too many distinct textures. Remedy: shrink the mask, split into two smaller passes, or re-paint only the artifact region.
Repeated textures
"Tiling" or cloned-looking bricks/grass/sky happen when the model needs to invent too much area without enough context. Including a bit more of the surrounding reference in the image (or using a higher-resolution crop) helps.
Strange edges
Halos or hard lines at the boundary usually mean the mask did not fully cover the target, or covered too much. Try the eraser for one more pass, then re-run.
Incorrect reconstruction
Straight lines becoming curved, or patterns being invented, can happen on very complex scenes. Retry with a tighter mask, or accept that very complex images may need manual touch-up in a desktop editor.
Shadows left behind
Always check what the object was doing to lighting. A shadow, a reflection, or a contact highlight on a surface also needs to be in the mask — otherwise you erase the object but not its "trace".
Complex backgrounds
Dense foliage, brick walls with lettering, reflections on shiny surfaces, crowds, and heavily repeated elements are the hardest cases. Expect these to need multiple mask passes — or manual finishing.
Can AI Remove People from Photos?
Yes — AI can often remove a person from a photo. The difficulty varies depending on several factors:
- Person size. Large figures take up more area the model has to invent. Small background strangers are typically easier.
- Background complexity. Plain sky or a smooth wall are easy; a busy market or a patterned mural are much harder.
- Overlap with another subject. If the person you want to remove partially overlaps the subject you want to keep, the mask boundary becomes delicate and you risk erasing pixels that belong on the preserved subject.
- Shadows and reflections. A person standing on a floor casts a shadow; a person in a window creates a reflection. Including those in the mask improves realism.
- Repeated textures. Tiled floors, fence grids, or tree lines can repeat oddly if the mask is large; smaller passes help.
People removal is one of the most satisfying uses of inpainting, but avoid assuming it is guaranteed to be perfect on the first attempt. Complex scenes may still require additional editing.
Can AI Remove Objects from Product Photos?

Absolutely. Product photography is one of the most practical real-world applications because the stakes are concrete — a cleaner catalog image converts better, and retouching costs add up quickly when you have hundreds of SKUs.
Typical product-photo jobs for inpainting:
- Removing packaging clutter (tape, labels, stickers, foam).
- Removing distracting props that worked on set but not in the final catalog.
- Cleaning the backdrop: dust, creases, or marks on a seamless paper.
- Removing unwanted accessories — a strap, a cable, a price tag, or a temporary hanger.
- Preparing marketing derivatives — for instance, erasing a seasonal ribbon before the image goes into an evergreen banner.
Inpainting pairs naturally with RMBG.PRO's background-removal workflow: first you clean the frame, then you drop the backdrop as described in the e-commerce background remover guide, or optionally add watermarks and branding as covered in the product image watermark article.
Brush and Remove Objects Straight in Your Browser
Paint over the person, cable, sticker, or logo — RMBG.PRO reconstructs the area with AI inpainting and lets you compare before and after in seconds.
AI inpainting · PNG output · Compare before / after
How RMBG.PRO Helps Remove Unwanted Objects
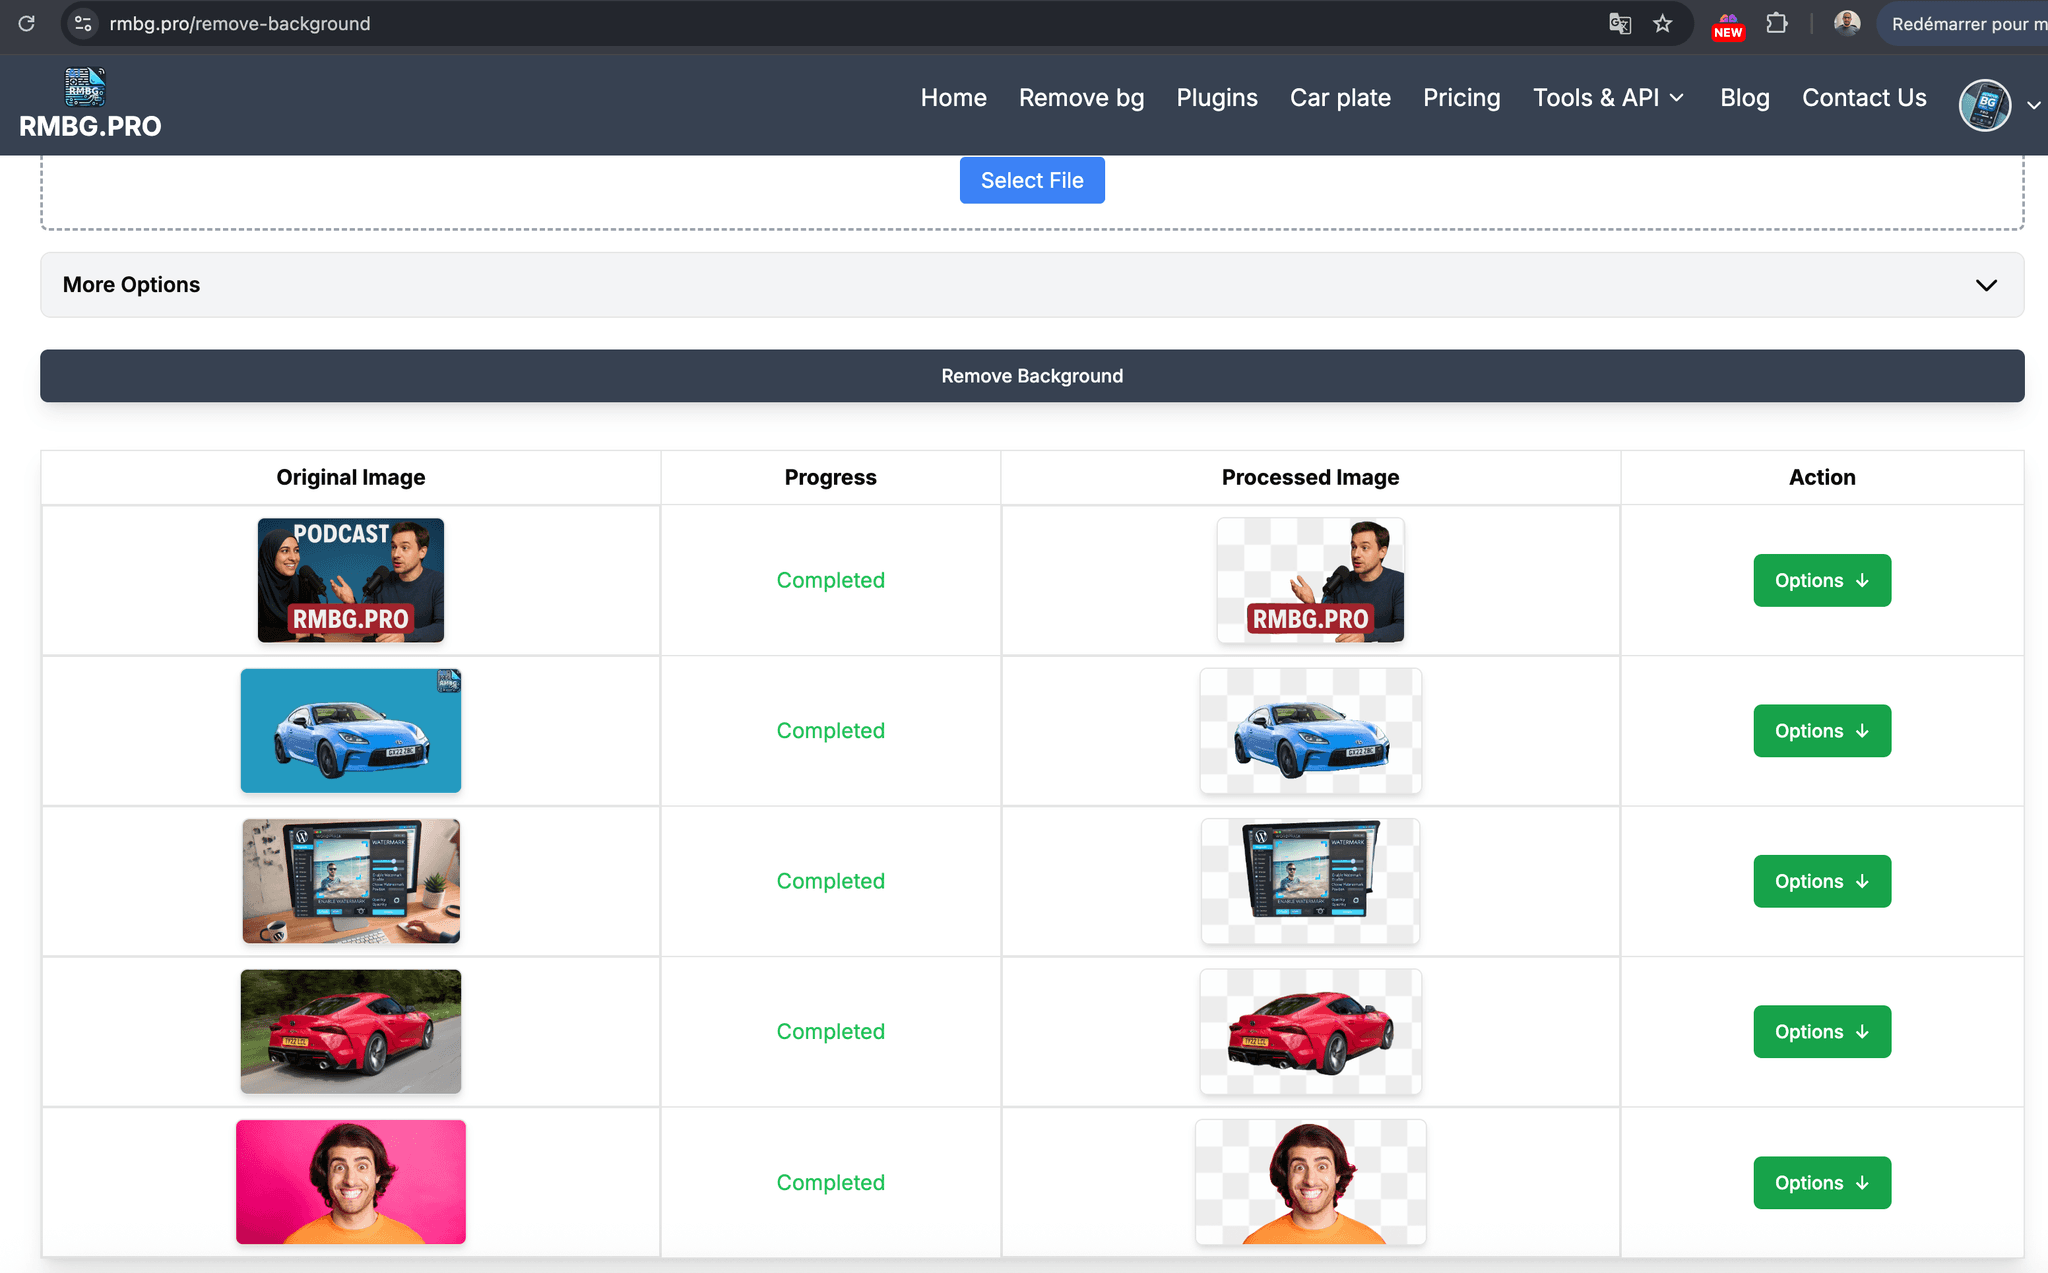
RMBG.PRO is best known for AI background removal, but the same platform includes a dedicated Remove Object tool that shares the inpainting logic with the watermark-removal editor. You get one consistent web UI for:
- AI-assisted object removal via brush mask and one-click processing.
- Full editor controls: Brush, Eraser, Pan, brush-size slider (5–100 px), Undo, Clear, Zoom.
- A built-in before/after compare slider so you can visually verify each edit before exporting.
- Image preparation: RMBG.PRO's core background removal can isolate the subject first, which often simplifies the inpainting problem.
- Product-image workflow: combine with transparent-background export, background replacement, and bulk-prep patterns from the platform's other tools for coherent, branded catalog output.
- A zero-download browser experience: PNG, JPG, JPEG, and WEBP uploads, PNG export.
The next time a catalog image needs a stray sticker removed, or a hero shot has an unwanted detail, try RMBG.PRO — paint a mask, click remove, compare, and download.
Frequently Asked Questions
How do I remove an unwanted object from a picture?
Upload the picture to an AI object-removal editor, use a brush to paint a white mask over the unwanted area, start the inpainting process, compare the before/after, and download the cleaned image when satisfied.
What is the best way to remove objects from photos?
Use an AI inpainting editor for speed on straightforward cases, then move to a desktop editor for pixel-perfect retouching if the AI result has visible artifacts. Selection quality and resolution usually matter more than which exact tool you pick.
Can AI remove a person from a photo?
Yes. The practical difficulty depends on person size, background complexity, overlap with other subjects, shadows, reflections, and repeating textures. Small, isolated figures on simple backgrounds are the easiest; overlapping figures on dense patterned scenes are the hardest.
Can I remove objects without Photoshop?
Yes. Browser-based AI editors that use inpainting can remove objects, text overlays, and logos without installing desktop software. Results vary by image, as with any editing tool.
Can AI remove objects from product photos?
Yes. Product photography is an especially strong use case because studio backgrounds are often clean and uniform — stickers, tape, stray props, and backdrop marks remove cleanly with a good mask.
Does object removal reduce image quality?
Not necessarily. A clean result can be visually indistinguishable from the original. Poor-quality masks, aggressive selections, or low-resolution sources can, however, produce visible artifacts in the edited region. Always check at 100% view.
How does AI object removal work?
You paint a mask on the area to delete. An inpainting model then analyzes the neighboring pixels and generates plausible replacement content that should match the scene's colors, textures, and edges.
Can I remove multiple objects from one image?
Yes. You can paint several disconnected regions in one mask, or process them one object at a time and return to the editor between passes — whichever gives better local control.
Is AI object removal free?
Pricing depends on the platform. RMBG.PRO exposes its object editor through the browser; consult the current site for the latest credit and plan information rather than relying on articles that may become stale.
What should I do if the AI result has artifacts?
Narrow the mask, reduce the selected area, re-paint only the artifact region, and try again. If the artifact persists, a quick manual polish in a desktop editor or a second mask pass usually solves it.
Conclusion
AI object removal turns a historically tedious photo-retouching task into something almost any user can do in the browser: upload, brush, compare, download. When the selection is clean, the image is high-resolution, and the background is not extremely complex, the results can feel nearly automatic. For more complex scenes, the same workflow still dramatically shortens the first 80% of the work, leaving only a final polish pass if needed.
RMBG.PRO makes that first pass easy. Open Remove Object for the brush editor, or start with Remove Background if the final asset still needs its backdrop replaced. Either way, you stay in the same browser — no plugins, no installs, one workflow for the whole image-prep pipeline.
Erase the Distractions. Keep the Subject.
RMBG.PRO · AI image editing in the browser